Project: Iron Man
“Sometimes you've gotta run before you can walk.” - Tony Stark
When I acquired my 3D printer, my ultimate goal was to craft my very own functional Iron Man helmet. As an enthusiast for hands-on projects and a fan of Iron Man, this endeavor overshadowed all the other exciting possibilities the printer offered. This ambitious undertaking encompassed custom fitting, 3D printing intricate shapes, and working with mechanical and electronical components.
The project's primary objective was to create a fully operational Iron Man Helmet. I opted to purchase an STL file for the MK85 Iron Helmet for $30. Additionally, I used a kit to mechanize the helmet and utilized Arduino code I found online. This approach allowed me to focus exclusively on perfecting the helmet's aesthetics and functionality. It also served as a valuable introduction to various software tools like Meshmixer, Cura Slicer, and Arduino.
challenges
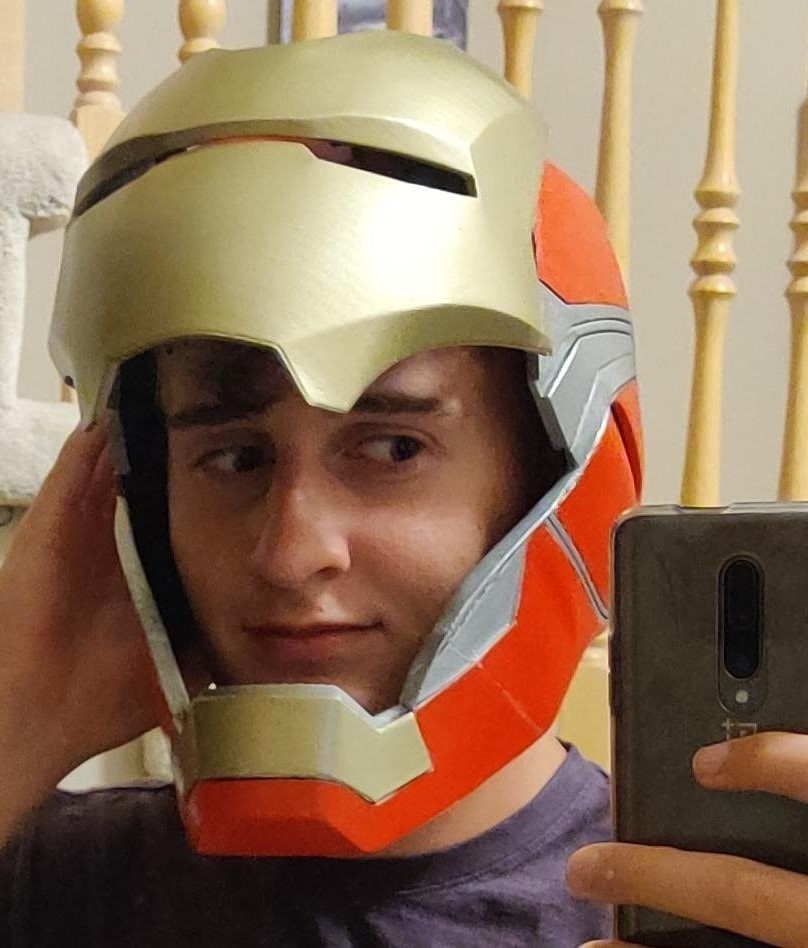
- Sizing the helmet to fit my larger head was a persistent and vexing issue. Despite using 3D scanning technology and taking countless measurements, I eventually had to make an educated guess due to unforeseen complications.
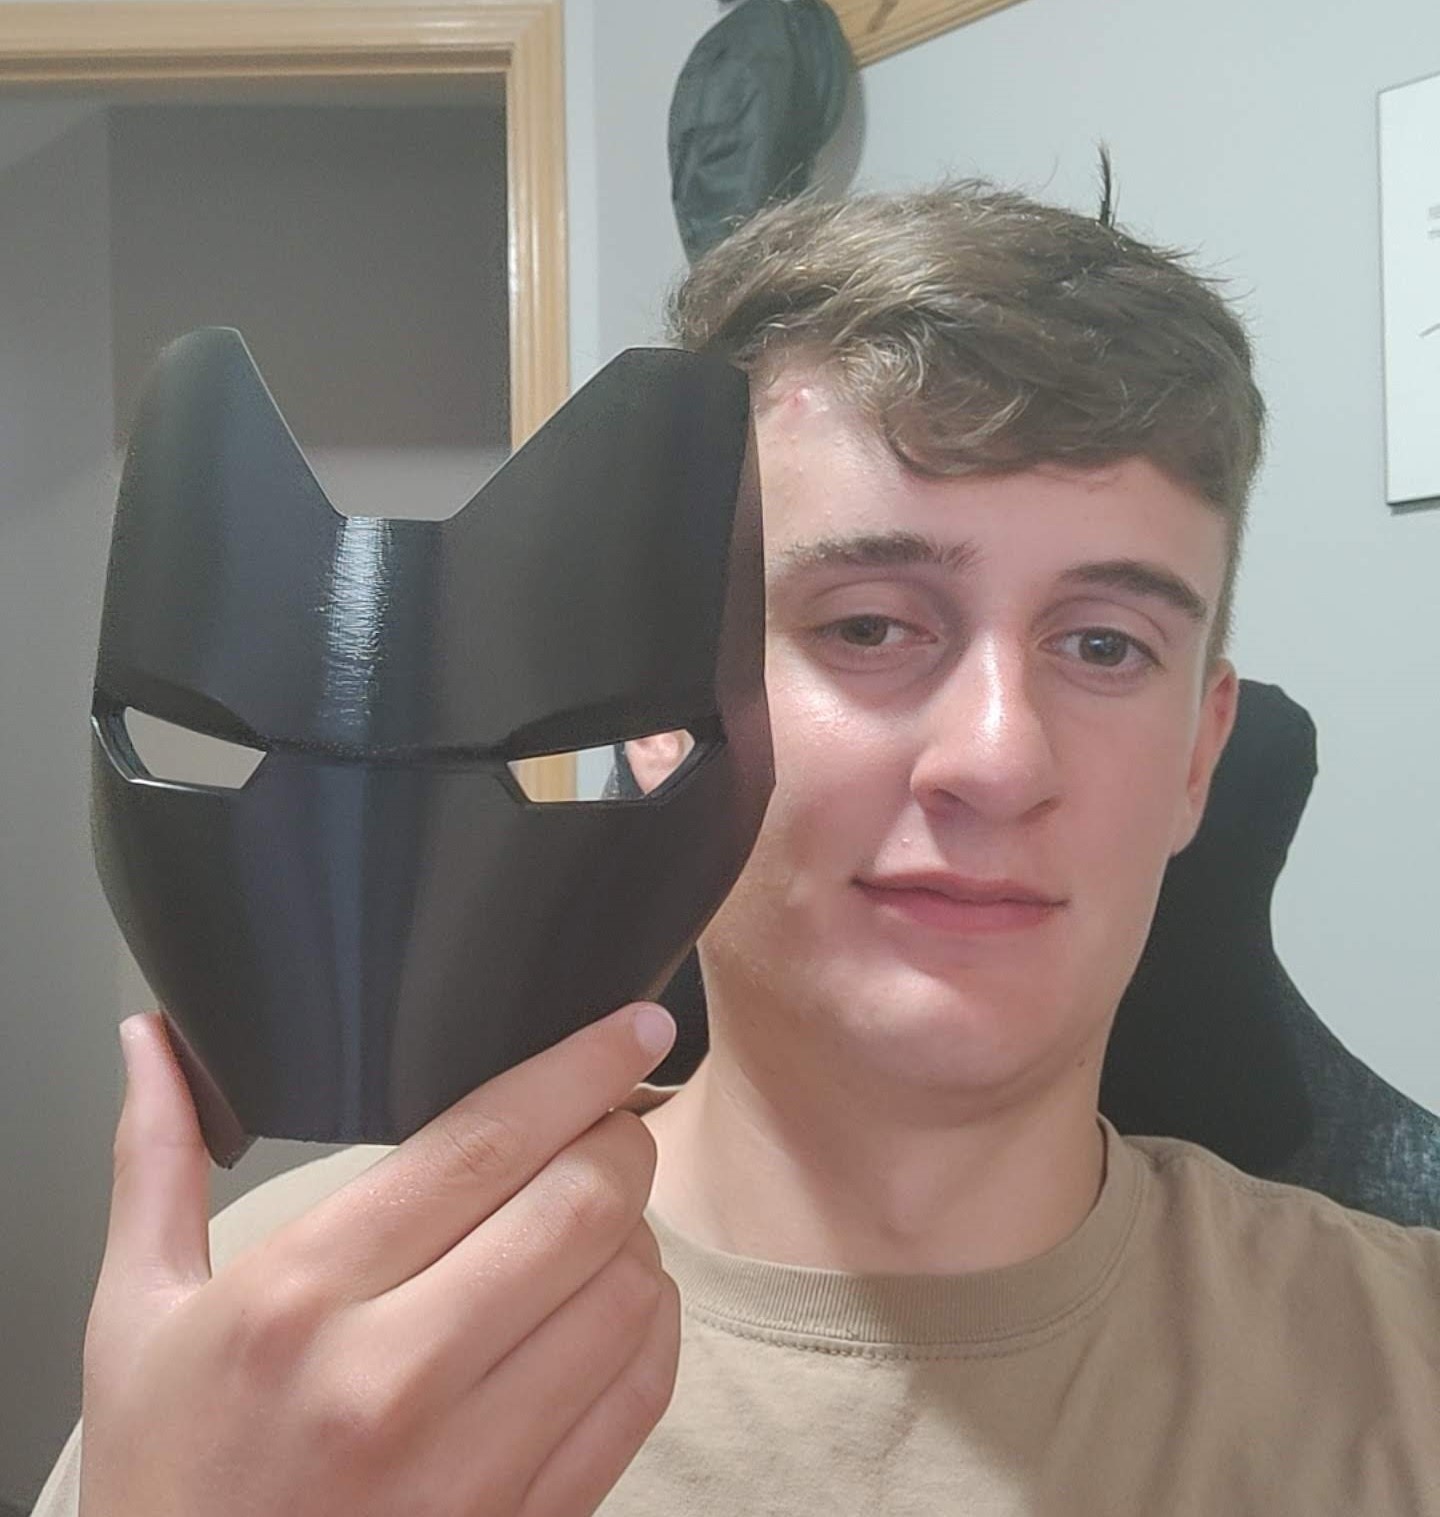
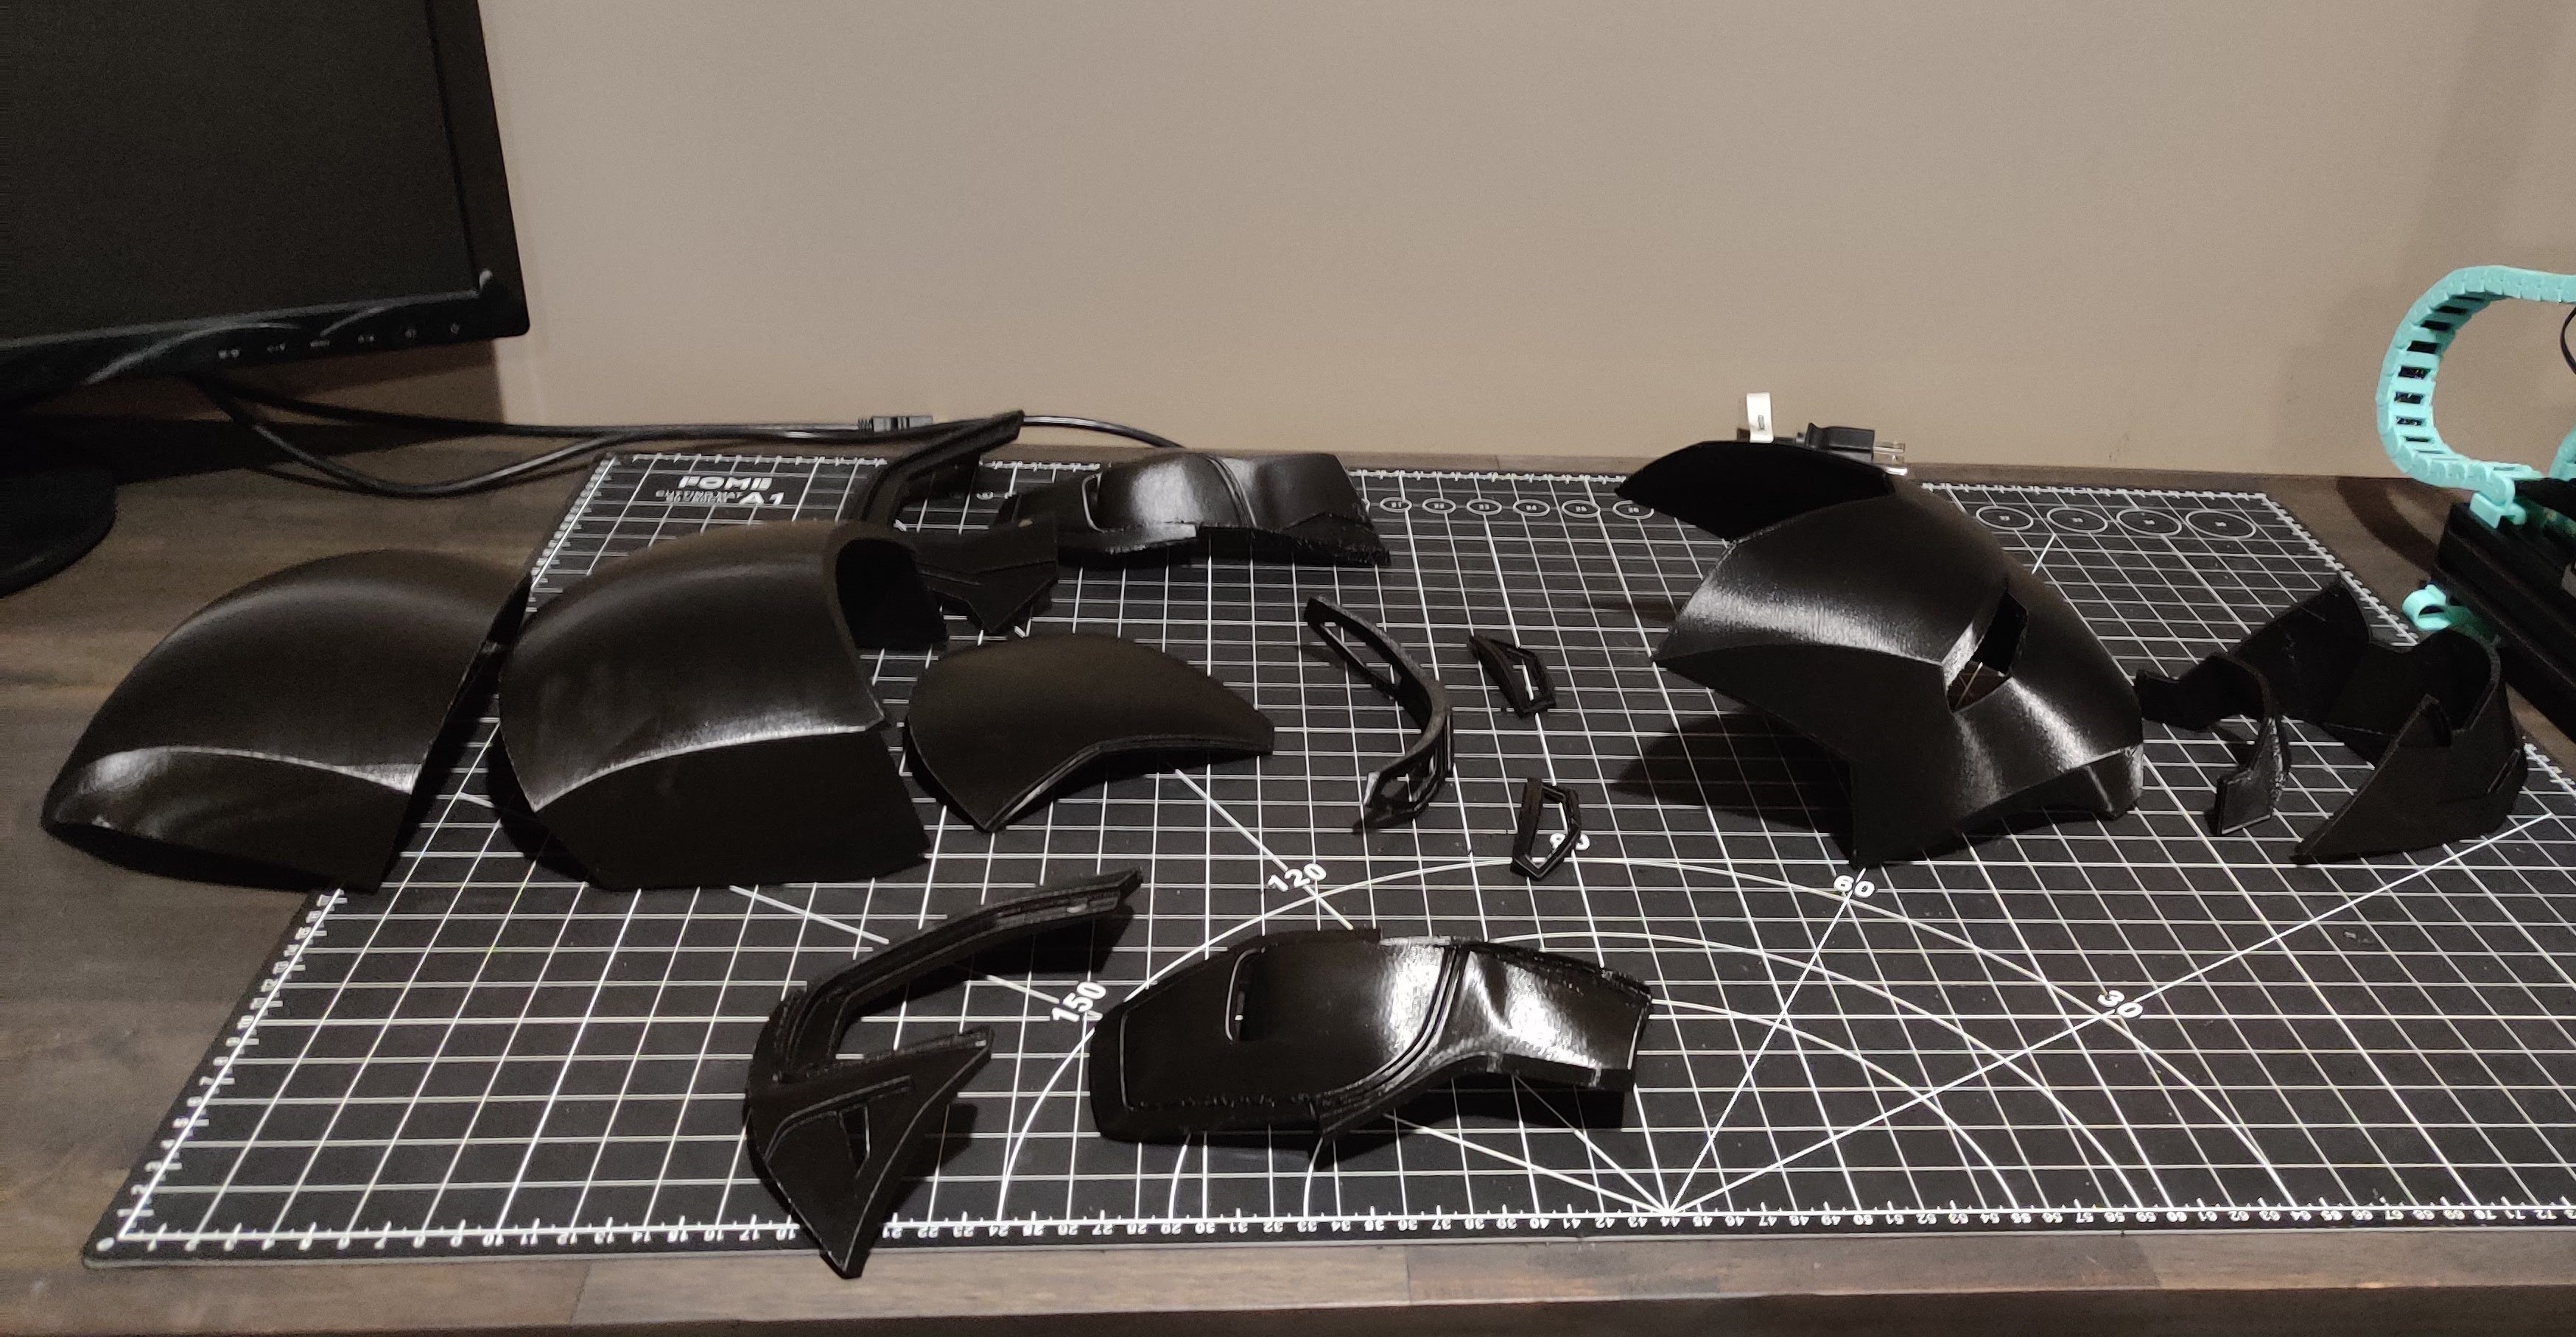
- The size of my head required me to slice the STL file into multiple pieces to accommodate my printer's limitations, transforming the initially three-part helmet into a seven-part puzzle.
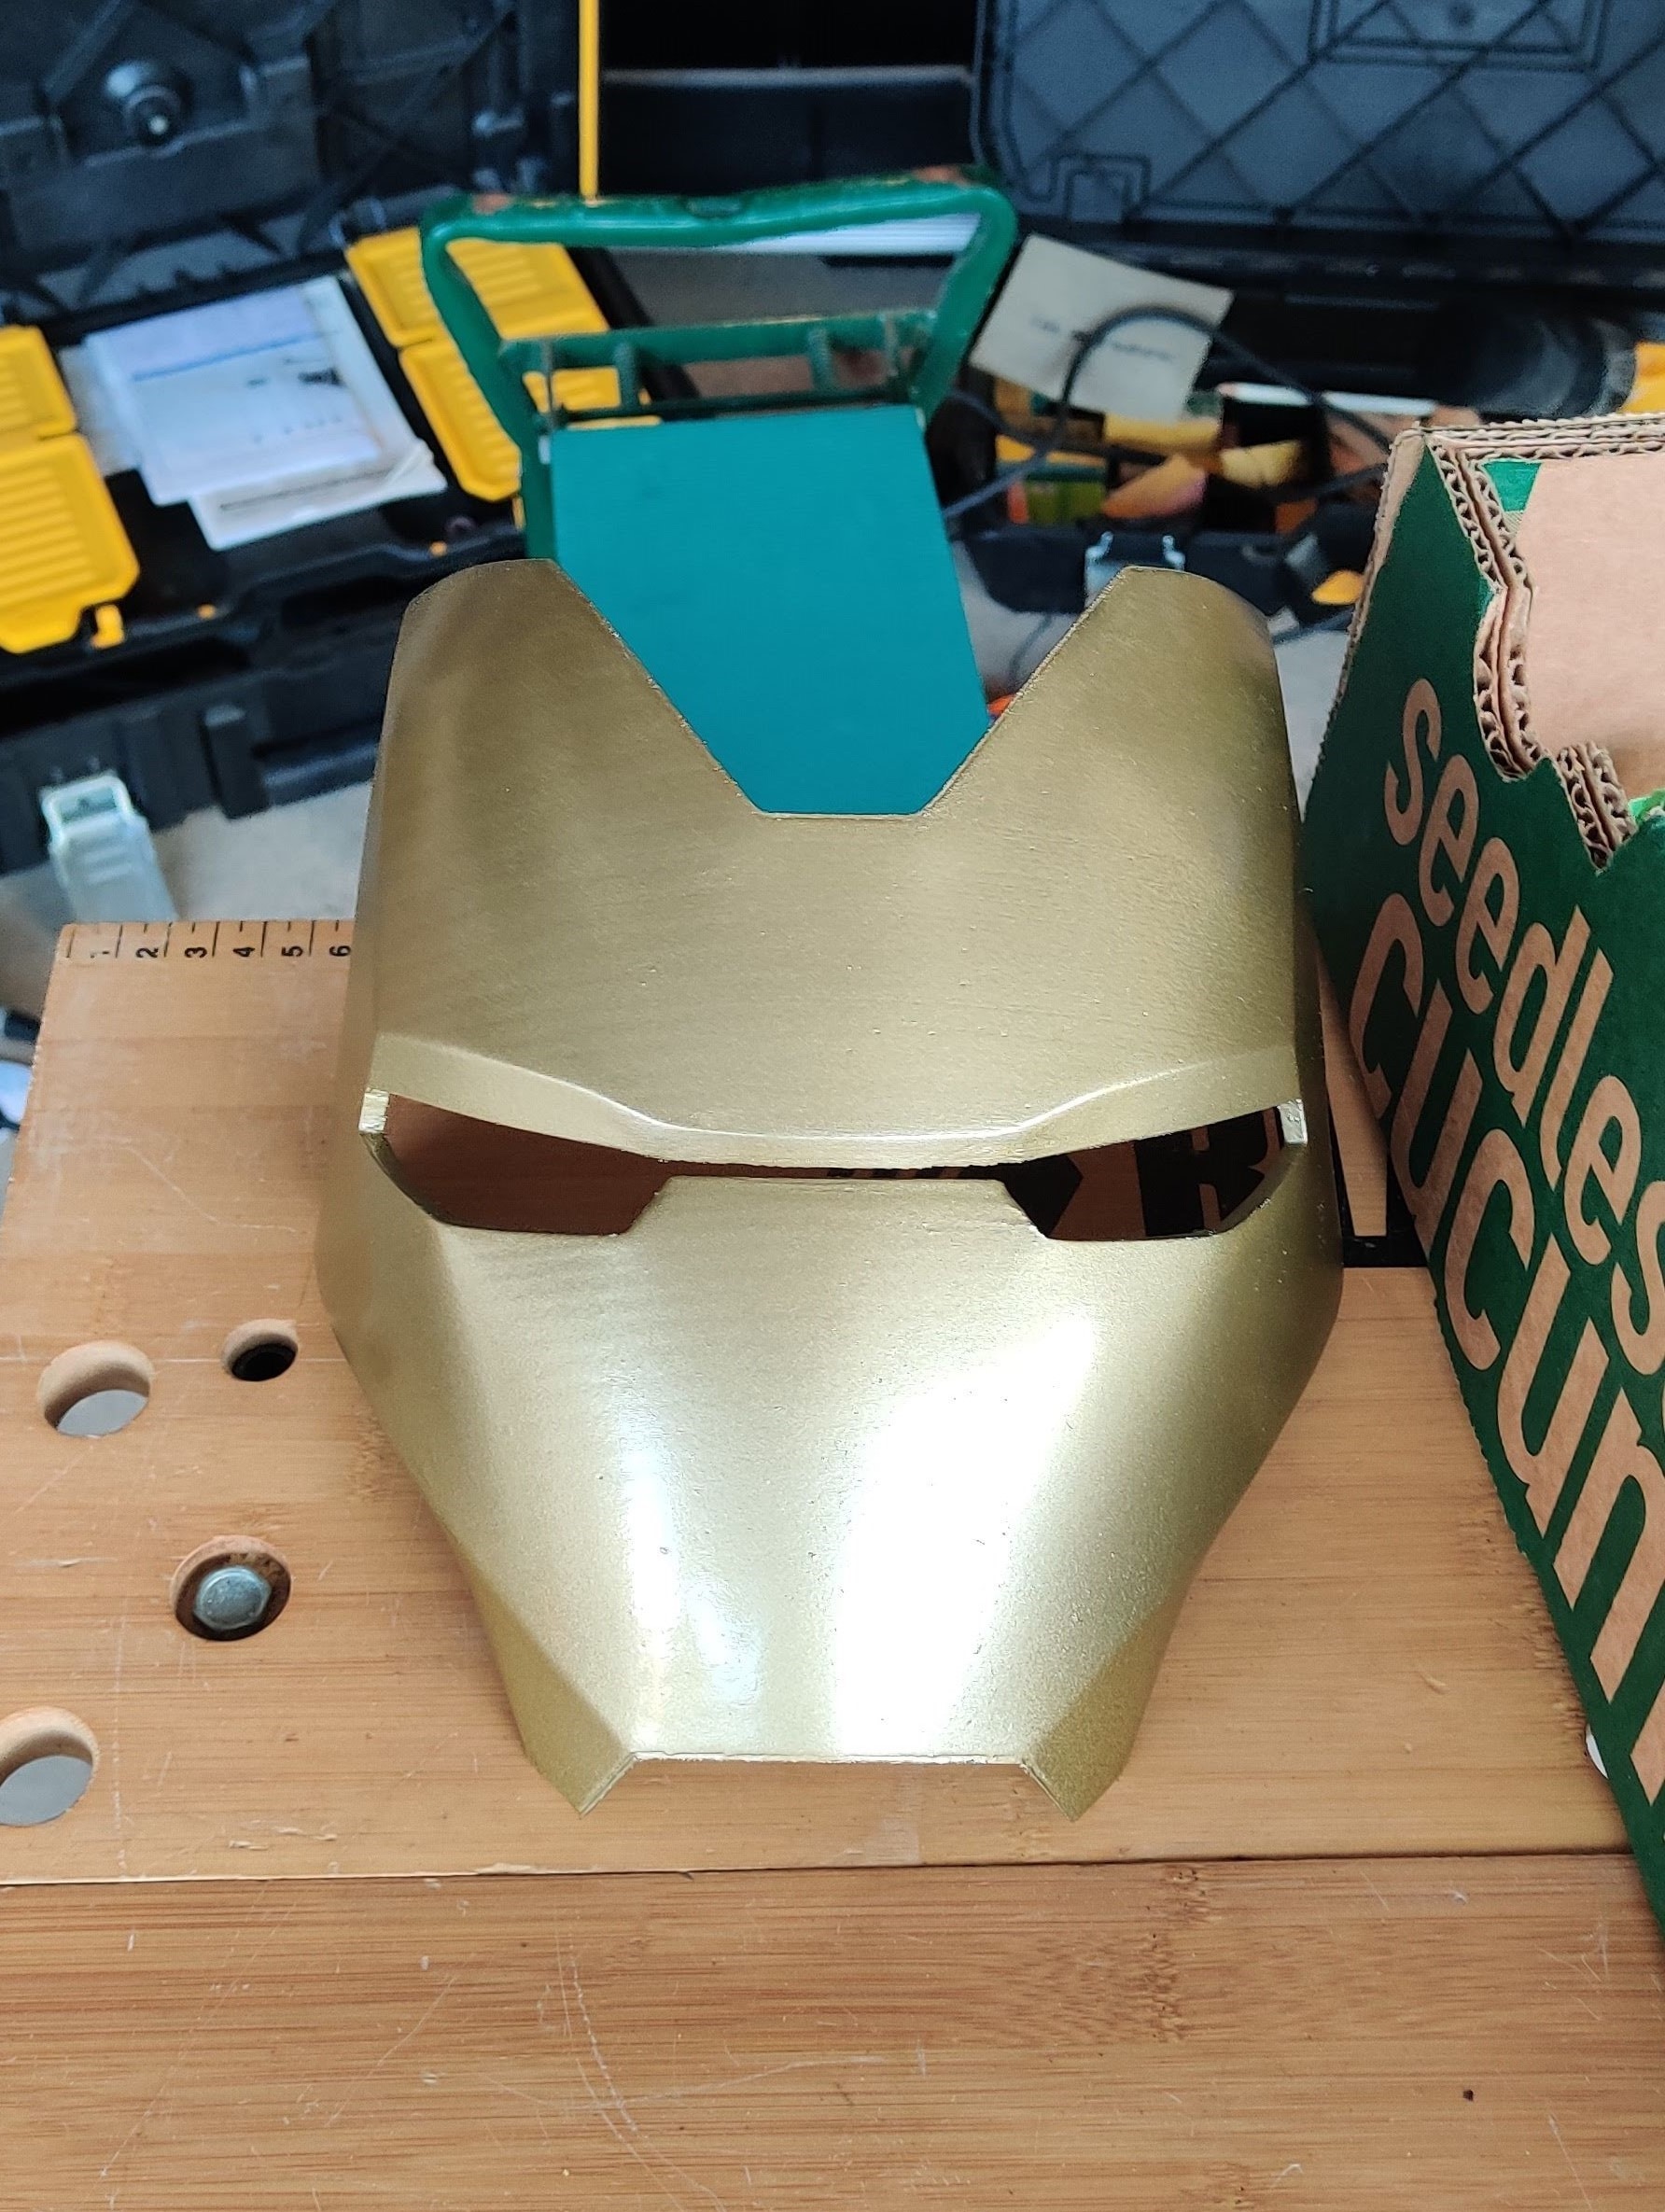
- Achieving a smooth, glossy surface presented difficulties, as the specialty tape I initially used left residue, necessitating multiple repaints.
- Soldering the electrical components, albeit with a makeshift setup, proved to be a challenging and somewhat hazardous task.
- Implementing the mechanical system within the helmet was an intricate and painstaking process, involving copious amounts of hot glue and, inevitably, burnt fingertips.
- Coordinating all the different components inside the helmet tested my patience, as I had to reuse foam and find ingenious solutions to accommodate the electronics.
- The enduring challenge remains keeping the servos operational in the helmet. After a few weeks, they tend to lose strength and fail to open the helmet.
Methodology
- Size the helmet to fit comfortably.
- Slice the STL file into manageable sections using Meshmixer.
- Print the individual pieces with high precision.
- Test-fit the components to ensure proper assembly; iterate if necessary.
- Weld the sections together by melting the plastic seams using a soldering iron.
- Smooth the printed surfaces with a sander, being cautious not to overheat and distort the plastic.
- Use putty to refine the helmet's shape and conceal imperfections.
- Apply spray paint in multiple coats, allowing ample drying time between layers.
- Assemble the electrical components using an Arduino Nano (Follow the build series by Frankly Built for details).
- Install the mechanical system (Refer to the build series by Frankly Built for guidance).
- Integrate all the components and troubleshoot any issues that arise.
Note that this methodology is extremely sparse. There are many steps and substeps to each aspect of this project. A more detailed description of this project can be found in this YouTube series made by Frankly Built.
My Iron Man helmet project taught me the significance of precision in design and the perils of rushing through it. I realized that patience is key, especially when tackling complex challenges like sizing adjustments, slicing STL files, and achieving a smooth surface finish. Problem-solving was a constant companion, highlighting the need for a meticulous approach. The project underscored the value of an organized workspace and equipment. In essence, it honed my skills, emphasizing the importance of balancing creativity with precision and the role of perseverance when facing challenges.
While my Iron Man helmet project has reached a satisfying conclusion, my fascination with technology and creativity persists. In the future, I aspire to explore new frontiers in 3D printing, possibly taking on more complex projects. Additionally, I'm considering ways to address the challenge of servo longevity in the helmet's mechanical system, aiming to achieve a more durable and reliable solution. As I continue to learn and innovate, I look forward to the limitless possibilities that technology and craftsmanship can offer.
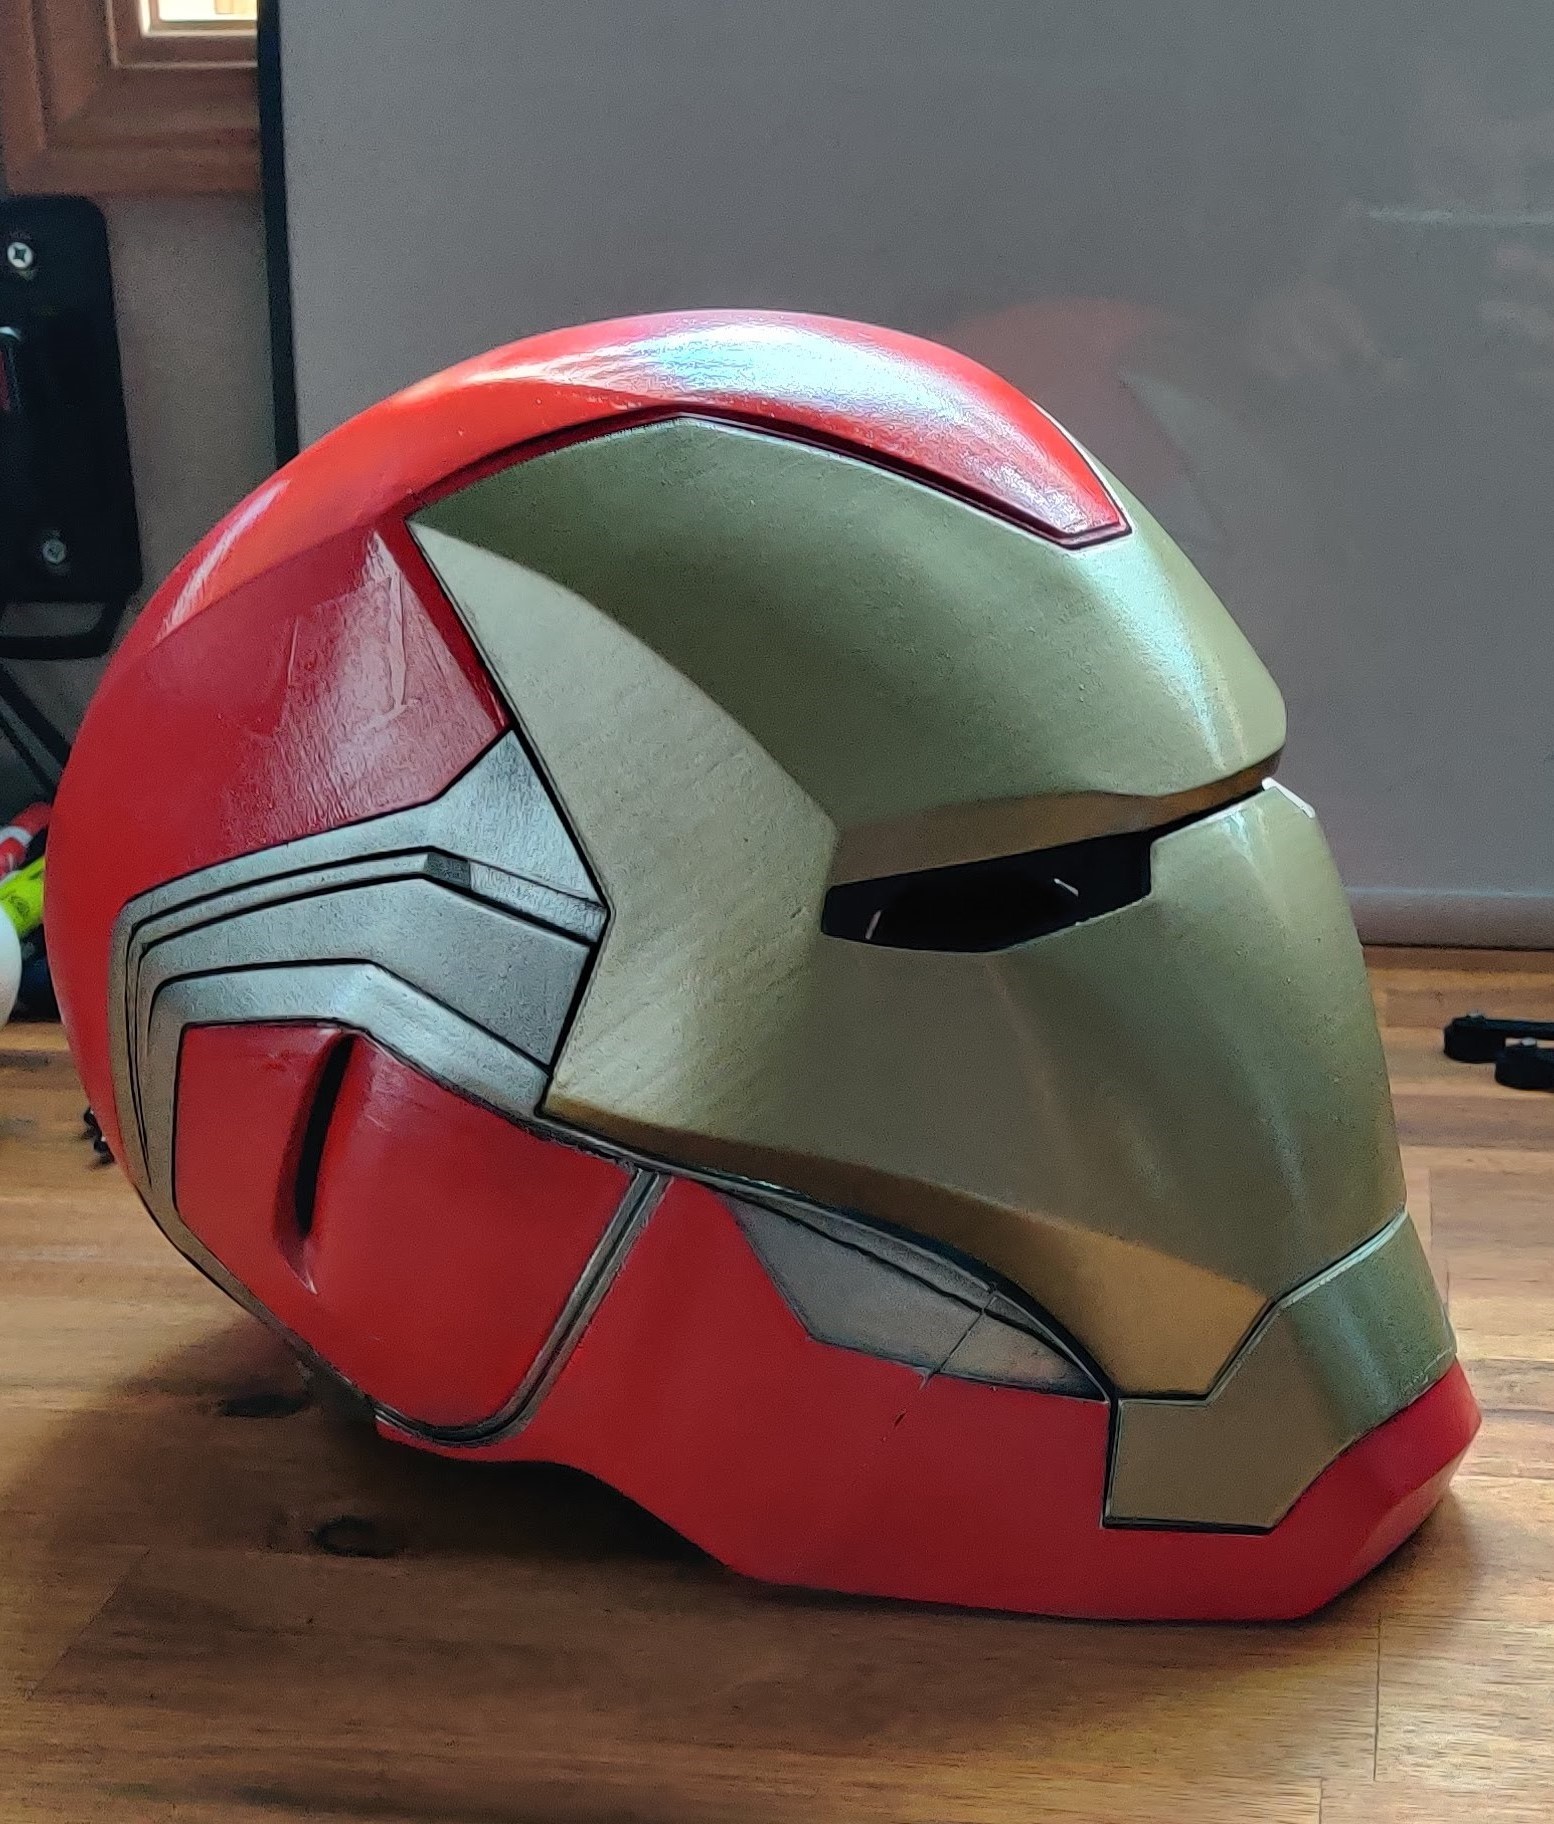
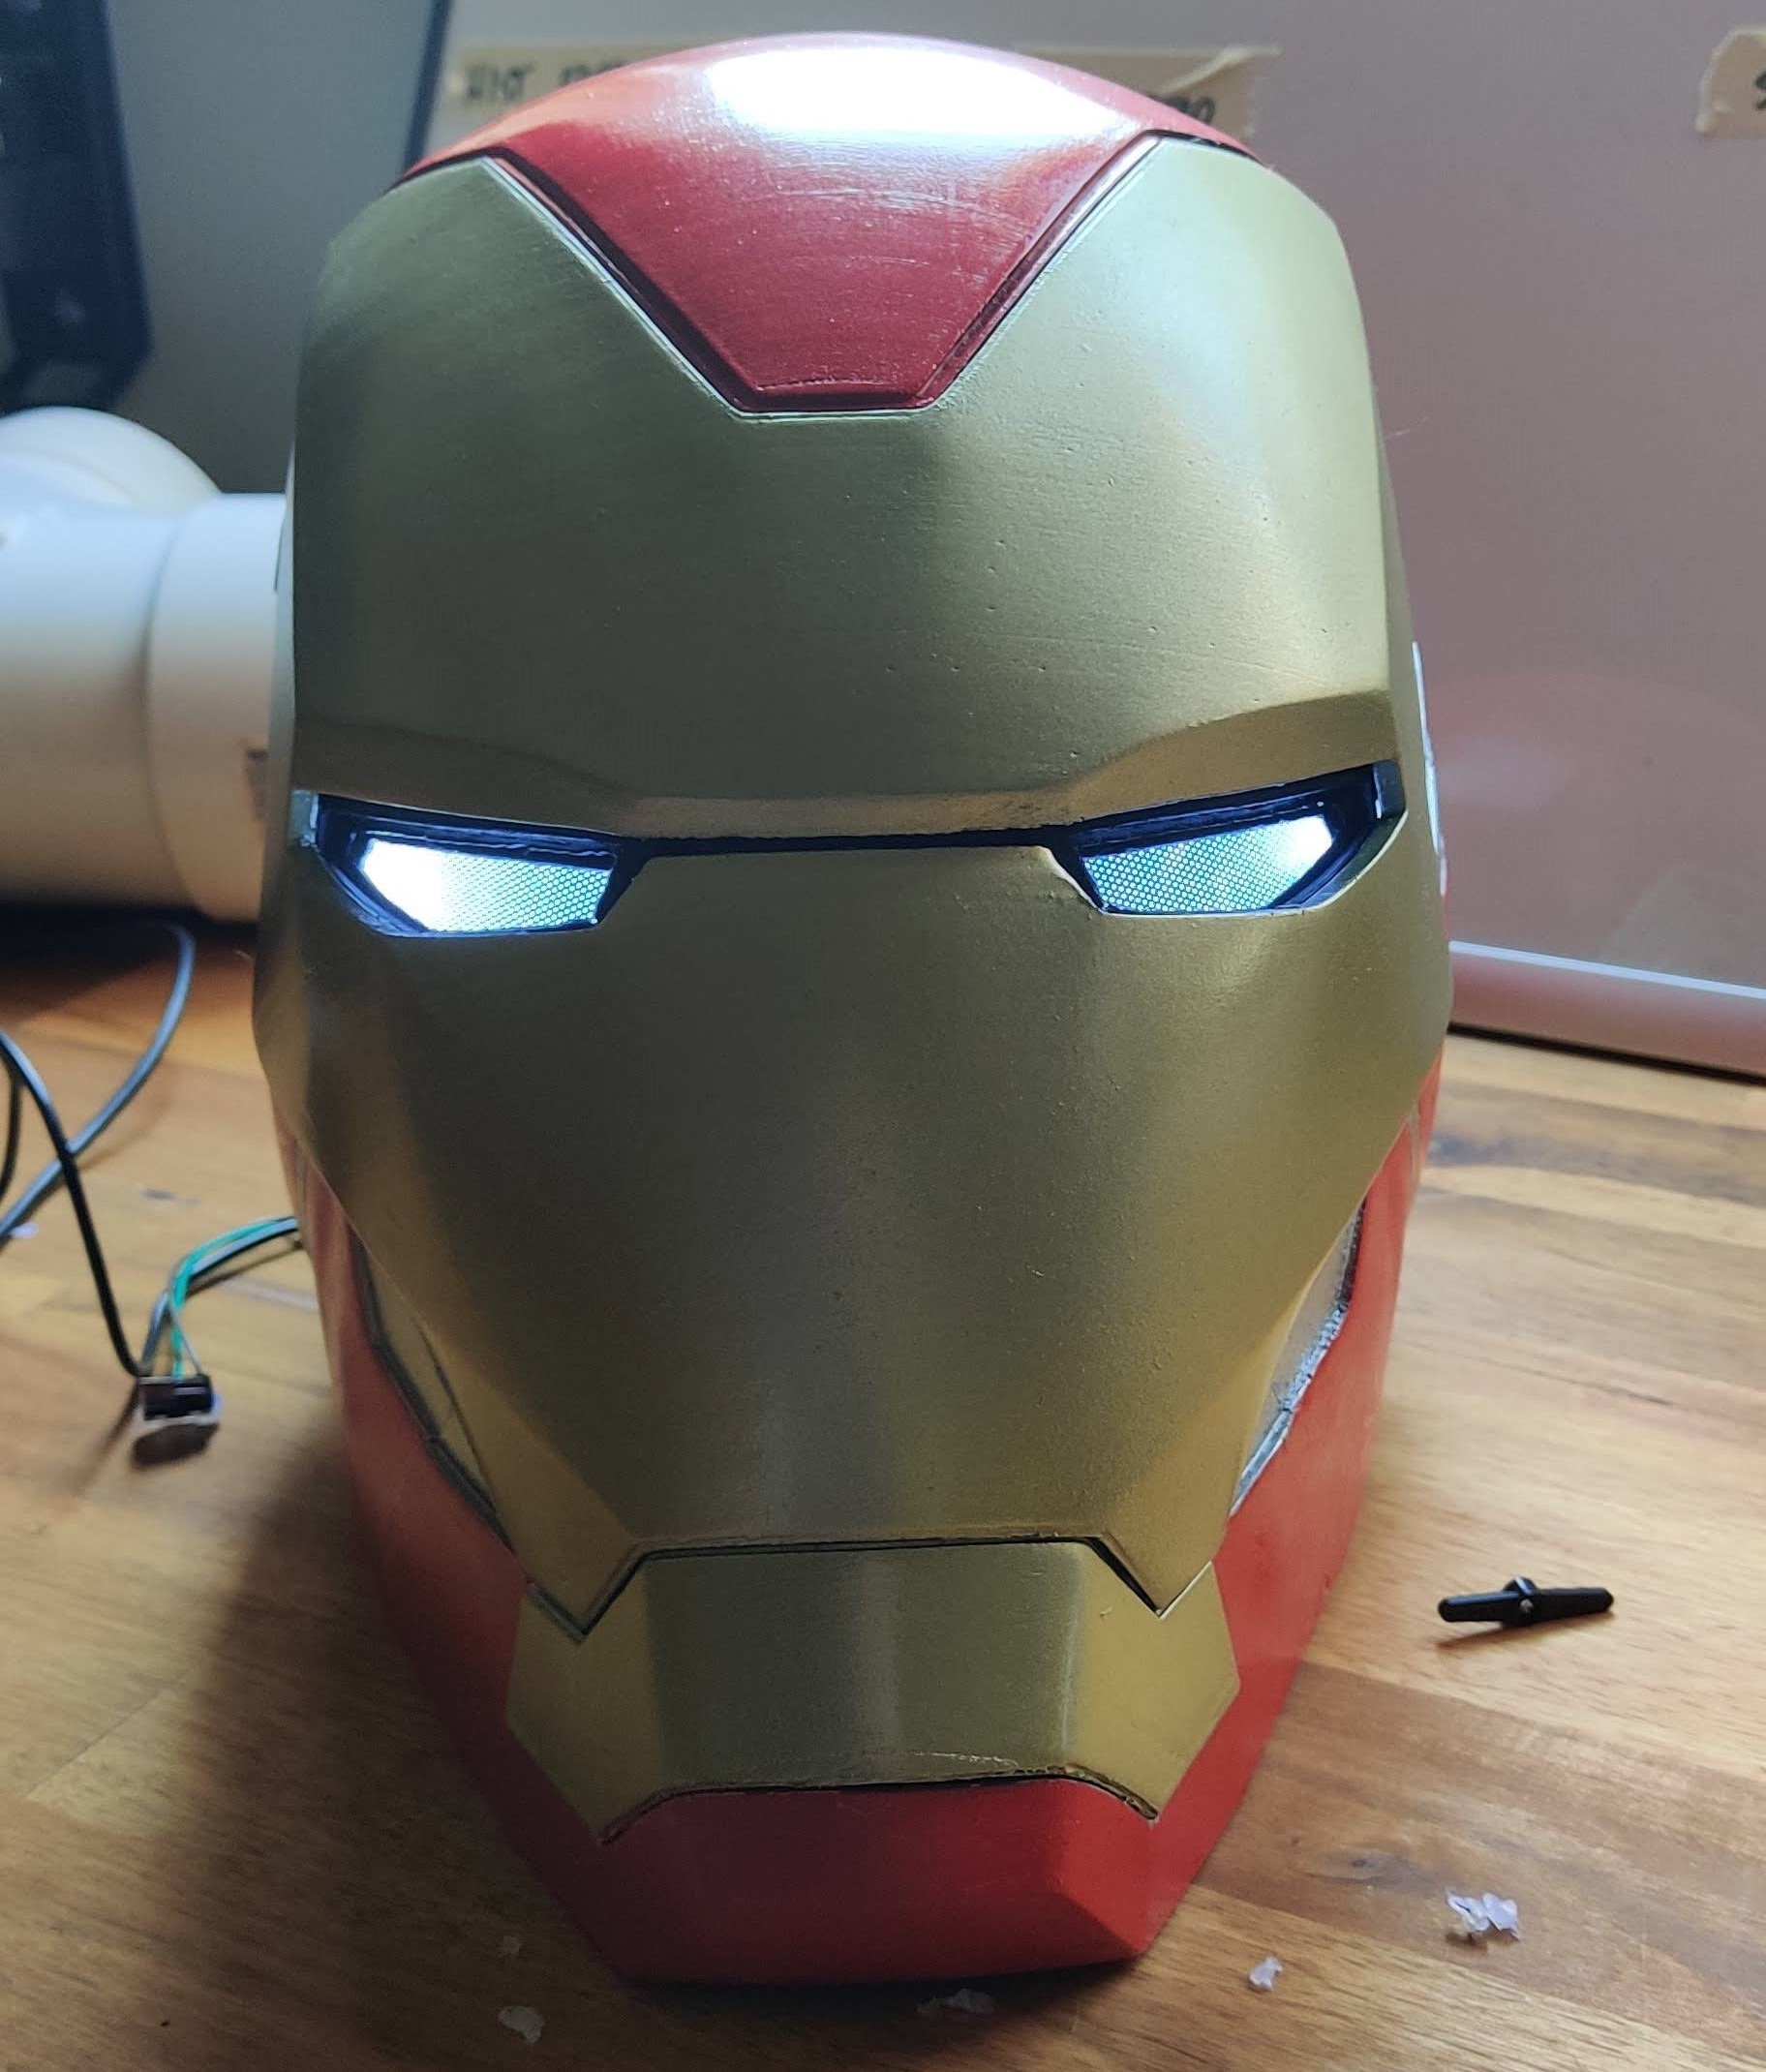
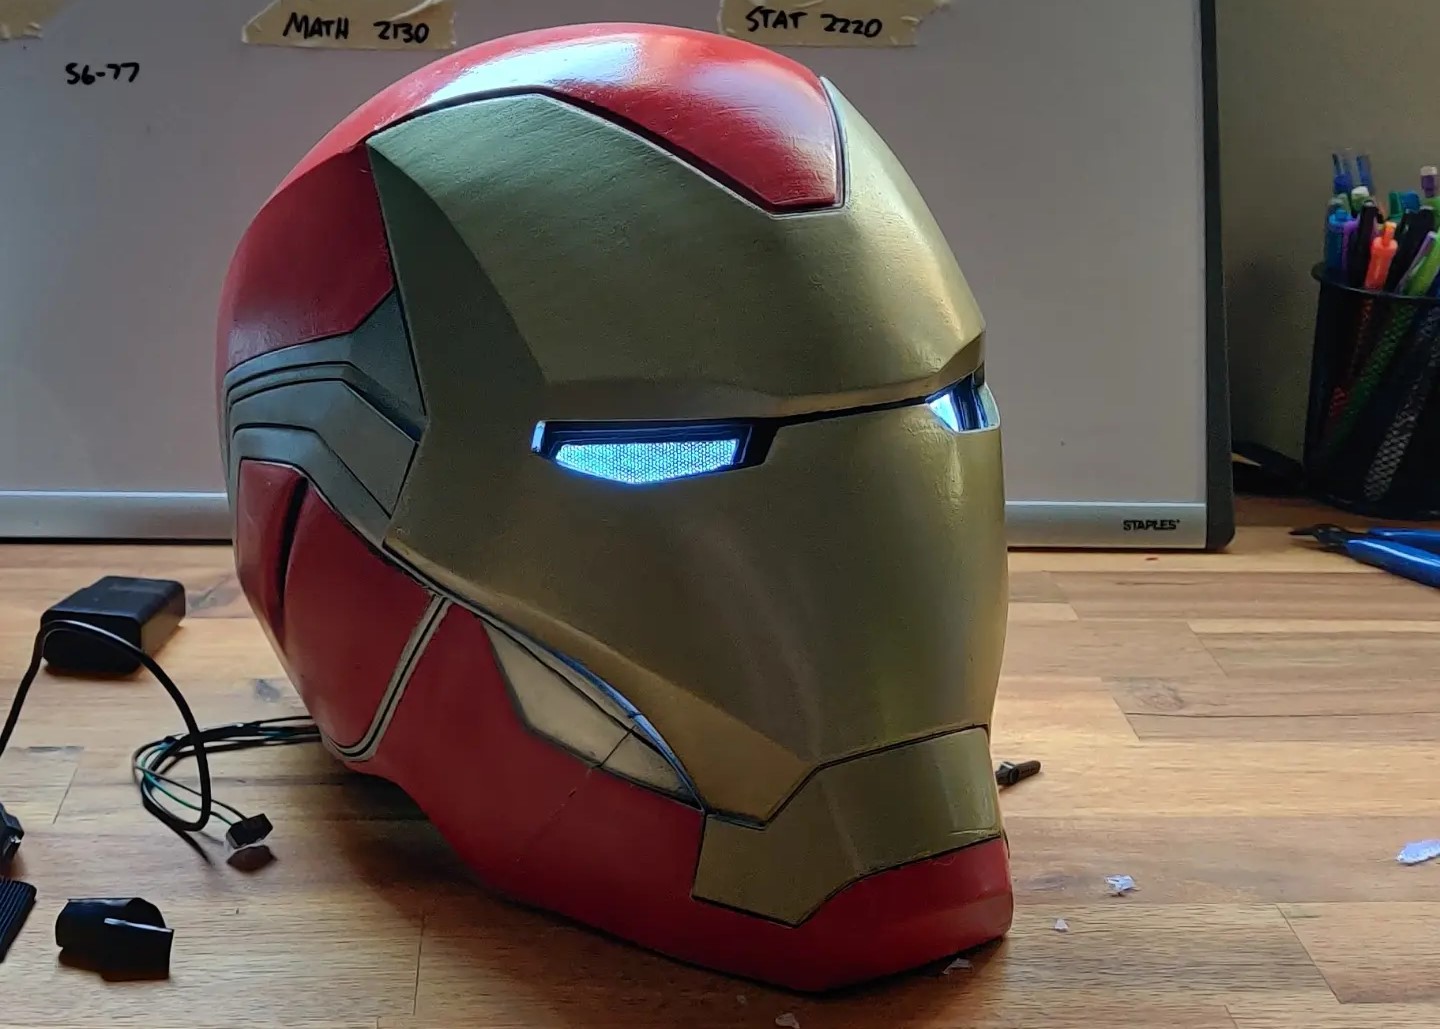
Building Montage
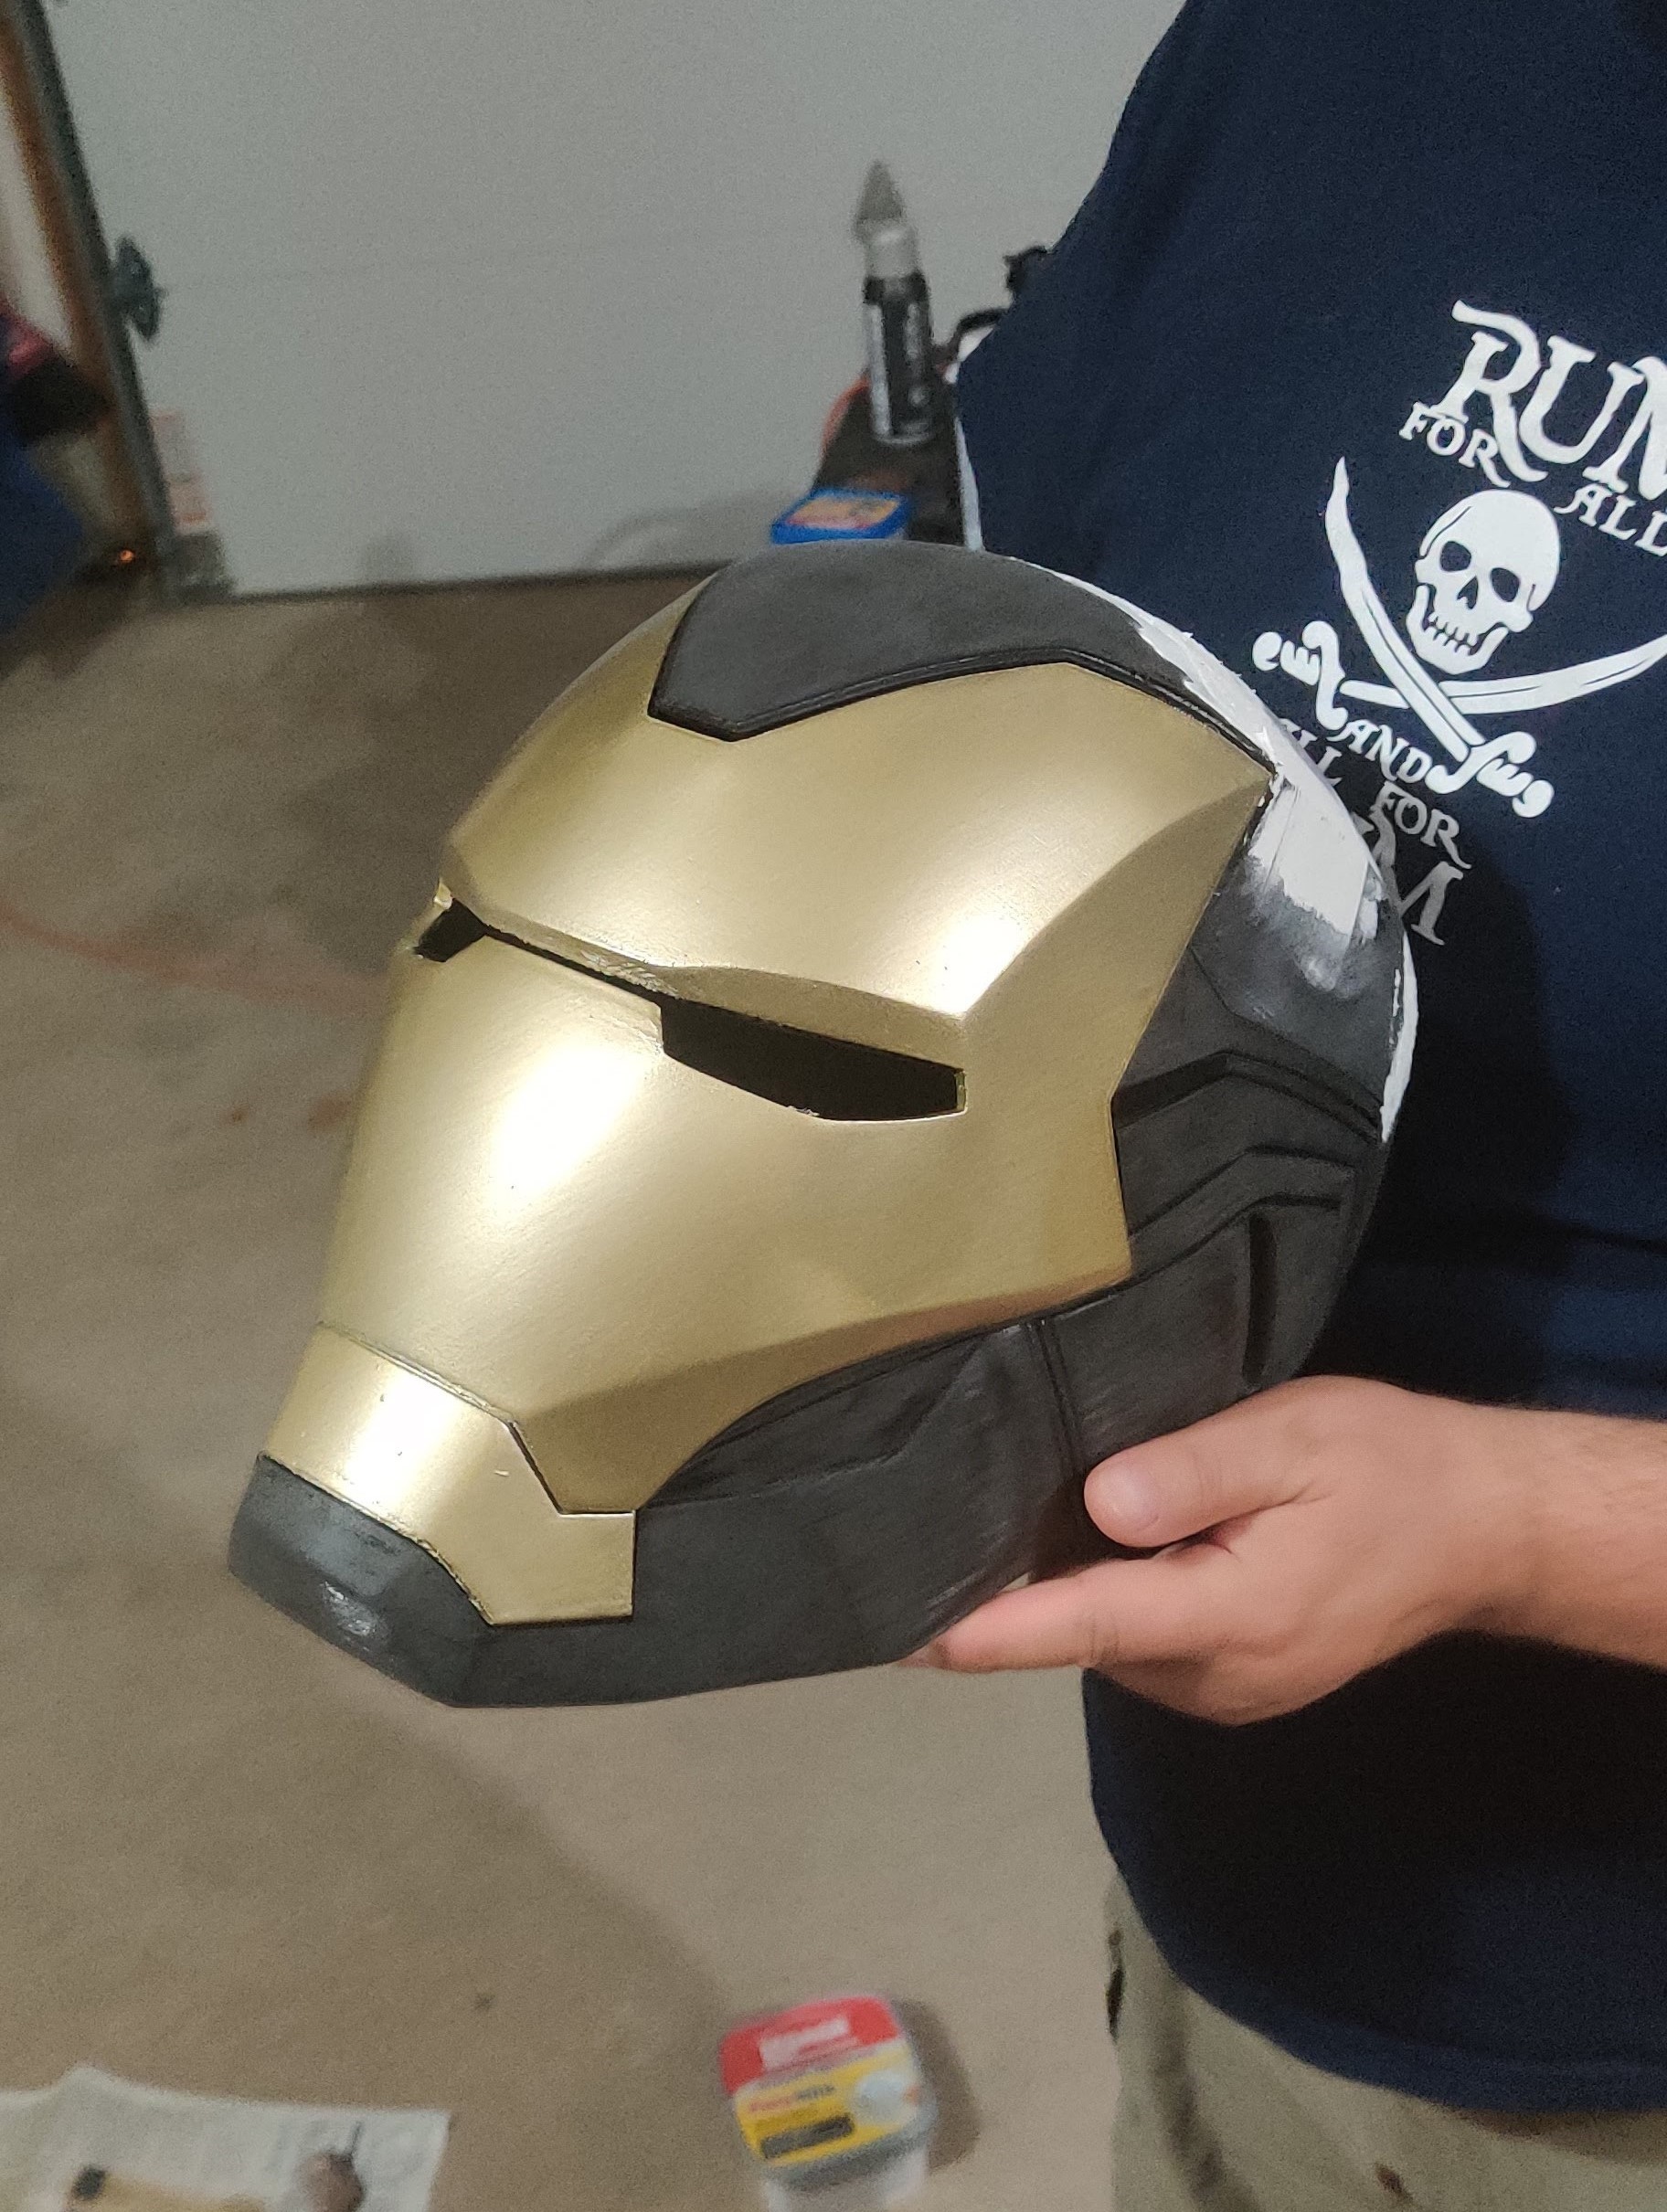
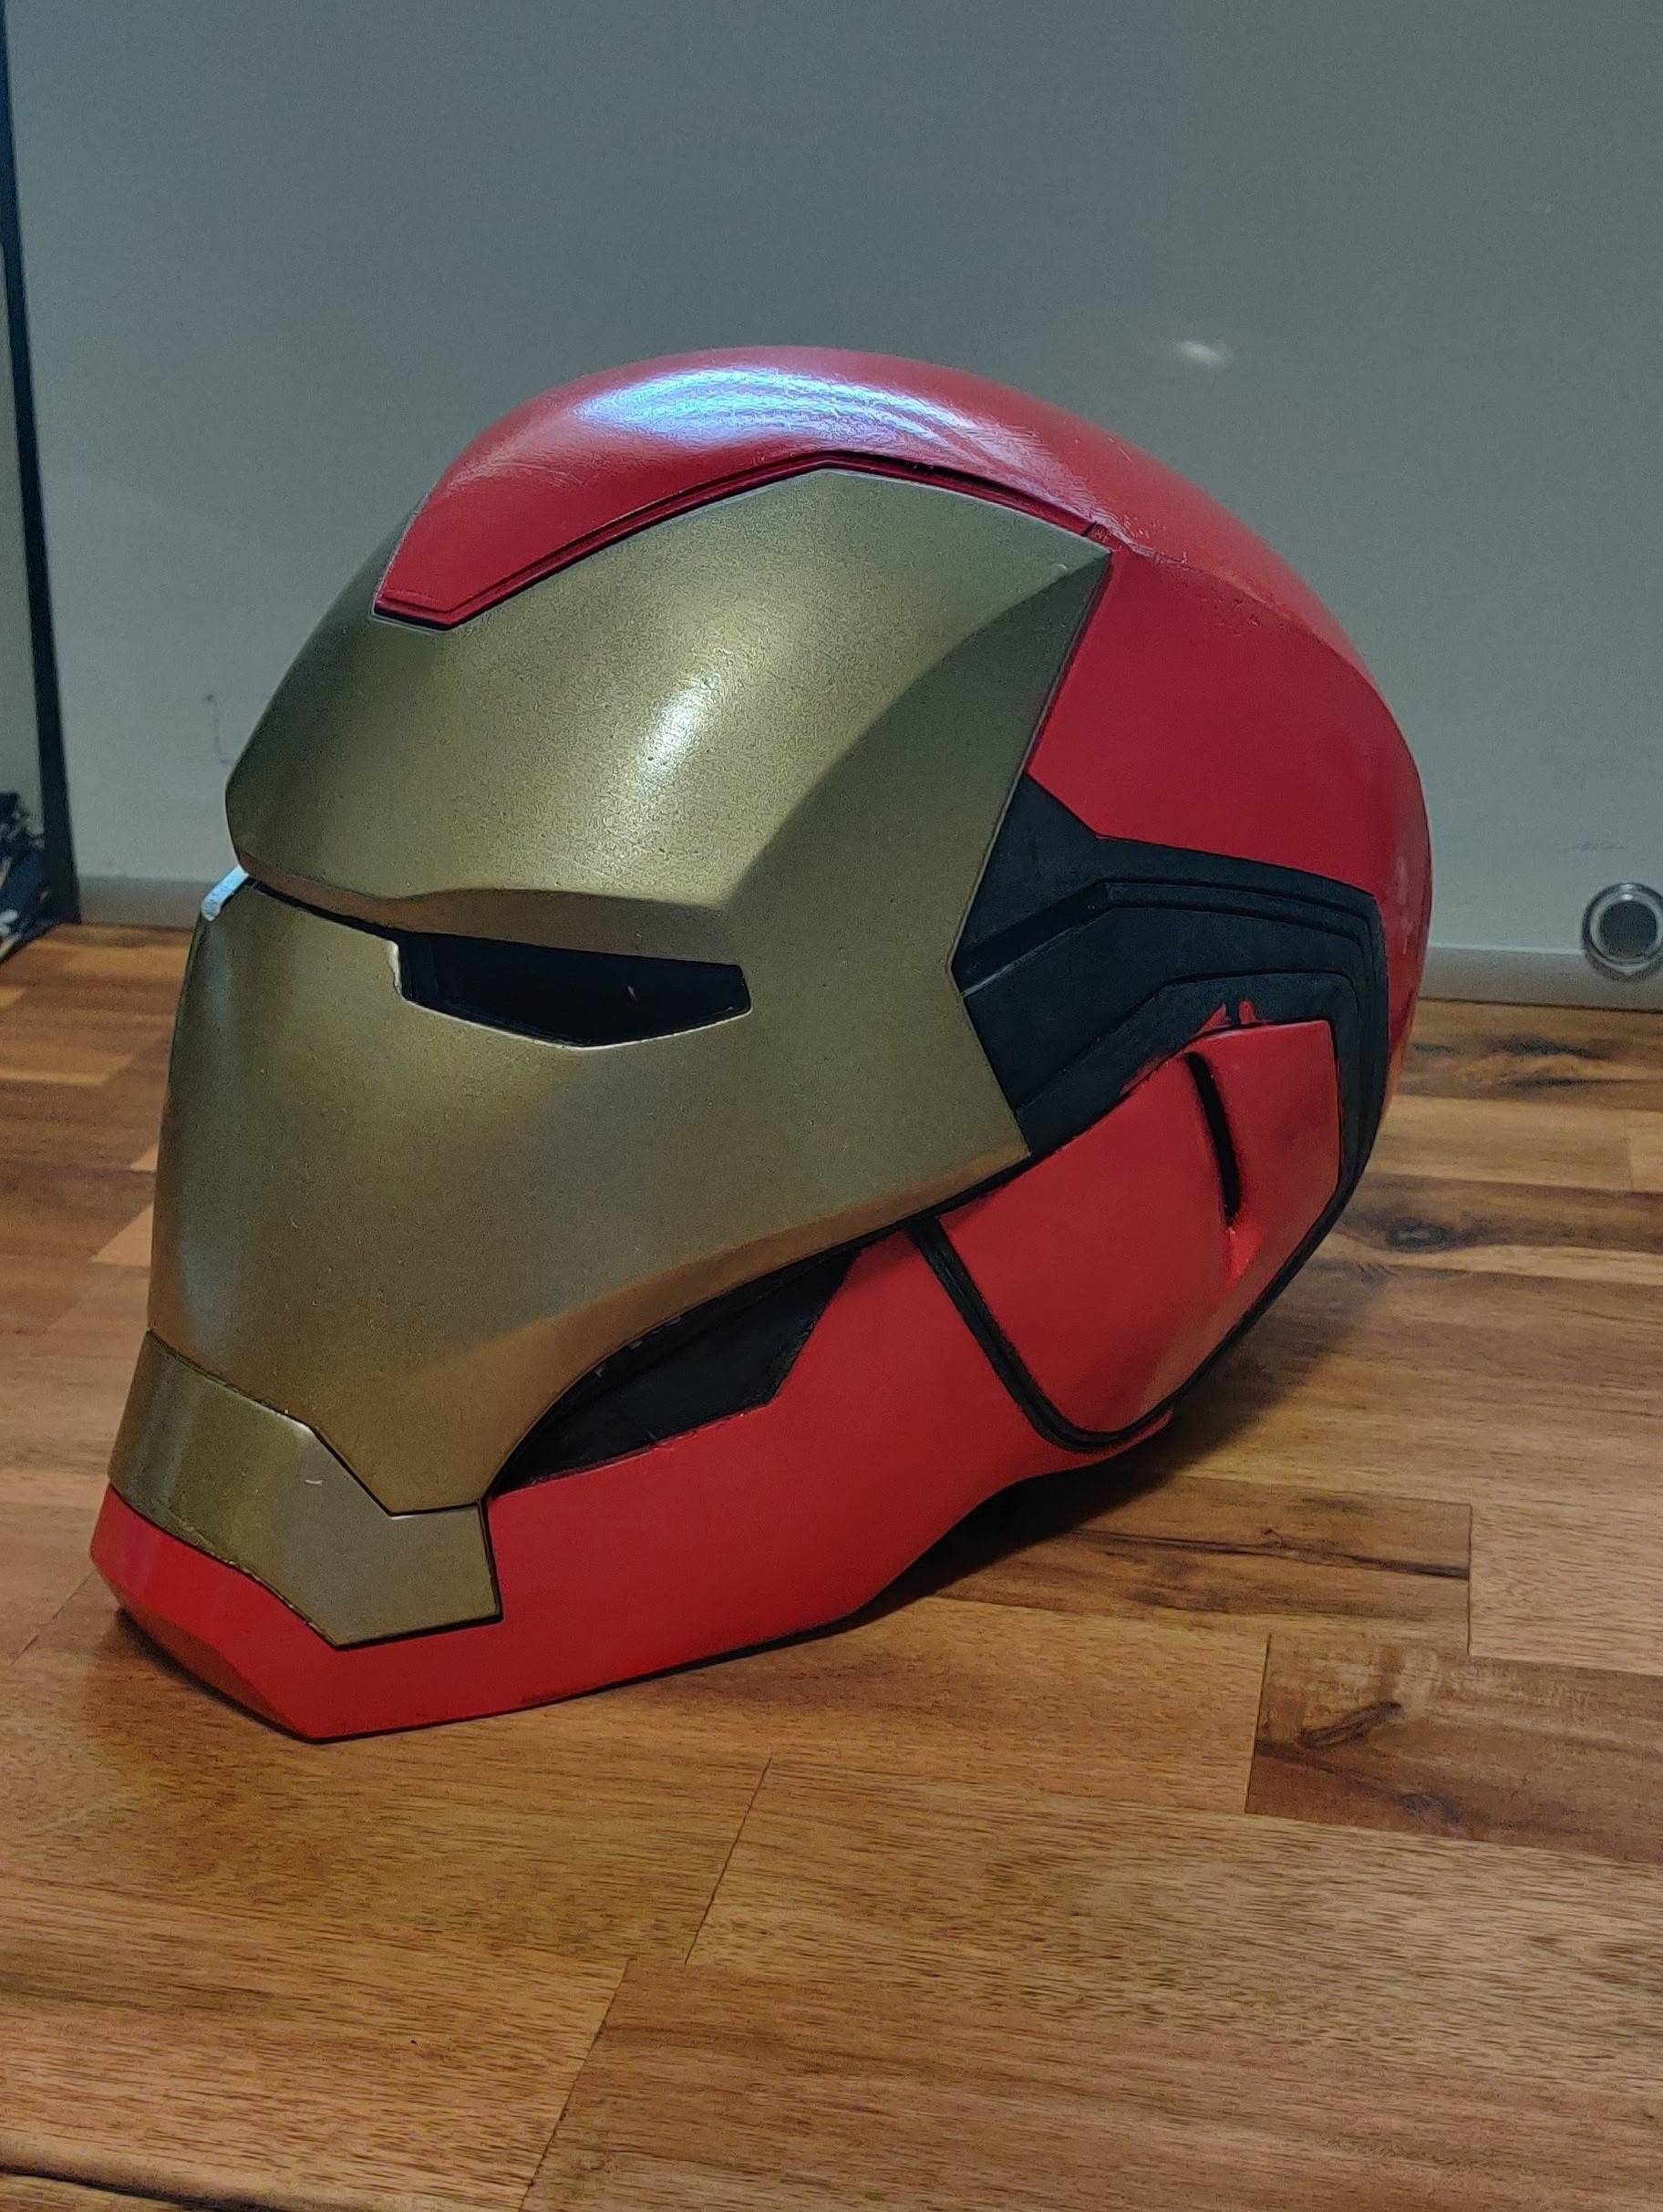
Finished Project